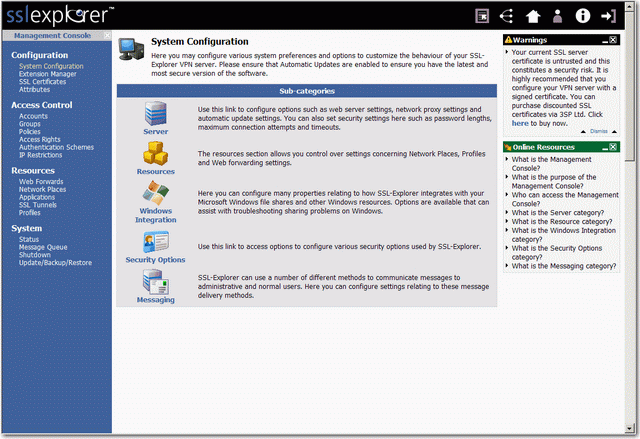
SSLExplorer Virtual Appliance: Couldn’t Get It Working
I thought I have found another nice and Free apps for SSL-VPN, SSLExplorer, now a Barracuda company, but it turns out it’s been stopped updating since 2008 and configuration part is too difficult.
1. Use VMware vCenter Converter 4.3 to import the virtual appliance (sslexplorer-1.0.0_RC17-x86.vmware.tgz) and converted it to VM Version 7 on ESX 4.1, it took about 15 seconds.
2. Open console, login as root with no password and configure the management interface with an INTERNAL IP address as public IP won’t work for some reason. (wasted 2 hours on this part)
3. Follow the wizard, start the sslexplorer service and the point your browser its IP address, configured many things until step 4.
4. Unable to publish sslexplorer port 80 & 443 via Untangle UTM. (wasted 2 hours on this part)
Finally Give up after 4 hours!

Update May-22 3PM
Figured out why Step 2 doesn’t work, because I enter the wrong CIDR format for Network and my mind isn’t clear at all after 12AM! Damn!
It’s been explained clearly in the sslexplorer manual:
Network: Network address for this subnet in CIDR format. In the screenshot above a private subnet of 192.168.70.10/24 has been created. This is the same as using 192.168.70.10 with a subnet mask of 255.255.255.0 which will provide 256 hosts (254 useable addresses as 192.168.70.10 is the network address and 192.168.70.255 is the broadcast address).
What I did was 255.255.255.0/24 or 192.168.70.0/24 which is obviously wrong, the correct format for Network (or netmask) really should be 192.168.70.10/24, no wonder! Forgot the most basic could cost an eye or a leg in some case is true!
ANYWAY SOMEHOW STILL DOESN’T WORK!
Update May-22 5PM
The Network Setup Wizard contains A BUG FOR NETMASK PART, so I manually edited /etc/sysconfig/network-scripts/ifcfg-eth0
SIMPLY CHANGE NETWORK=192.168.70.10/24 to NETMASK=255.255.255.0
You can verify this by ping to Google, if it works, then it’s been correctly setup!
Finally, found the pre-built VM missing GCC compiler so can’t upgrade VMware Tools, as well as missing traceroute, strange!
I guess that’s all the fun and pain for a Free and Community based software, actually I start to like it which is gain pleasure from most dreadful painfulness: )
After that, everything worked, so simply give it a public IP and configure the rest will have your SSL-VPN ready in less than 10 mins. Of course putting it behind Untangle has no problem as I’ve got the NIC interface setup correctly this time!
So the best solution is not to struggle with the problem, but go to bed early! After a good night sleep, suddenly, BINGO! Still No Pain No Gain, after almost 6 hours, it’s been trimed down to a 15-20 mins job.
