Recently I was required to reduced the power of my cloud servers usage. I discover there is an advanced Power Management feature in vCenter that can lower the power usage, which is also supports by the old ESX 4.1. According to manual, all you need is to change the setting in BIOS Power Management to “OS Control”.
However, this is NOT the case after reboot. The properties feature was grayed out and cannot be selected at all. Only “High Performance” is available under Active Policy section.
So I’ve tried to change the Power Management profile to Custom and set CPU Power to Minimum Power in BIOS. But after reboot, Both Technology and Active Policy became Not Supported, and Power Monitoring shows no change in watts at all, meaning this setting is not saving any power.
Then I kept the Cutstom setting and change CPU Power and Performance Management to OS Demand Based Power Management. (you can do this via Dell Openmanage or BIOS)

Olala…suddenly I was able to select the Power Management properties after reboot!!! Problem solved!

Finally located this alternative free anti-virus program CLAMWIN for the old server, although it doesn’t offer real-time scanning, but it’s better to have this than nothing at all.
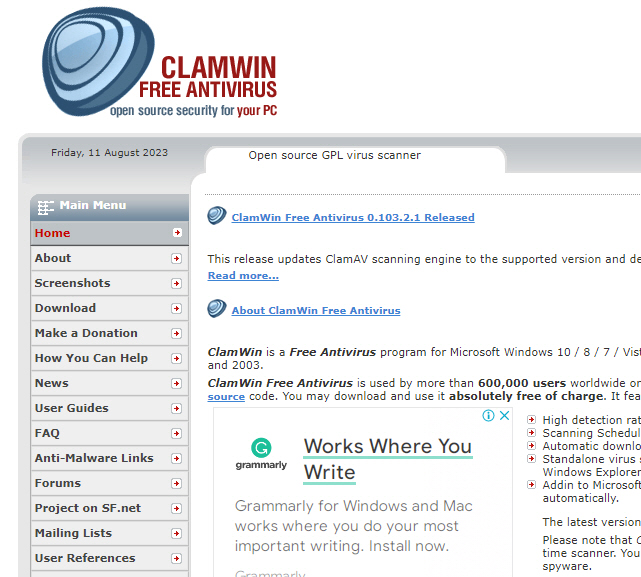
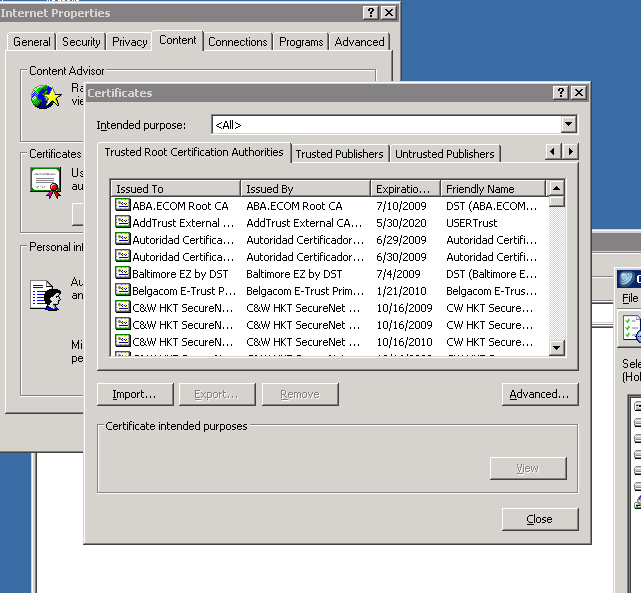
However, you do need to install the SSL certificate manually in order to get the update installed correctly, or you will see the error “SSL peer certificate or SSH remote key not found” in update panel.
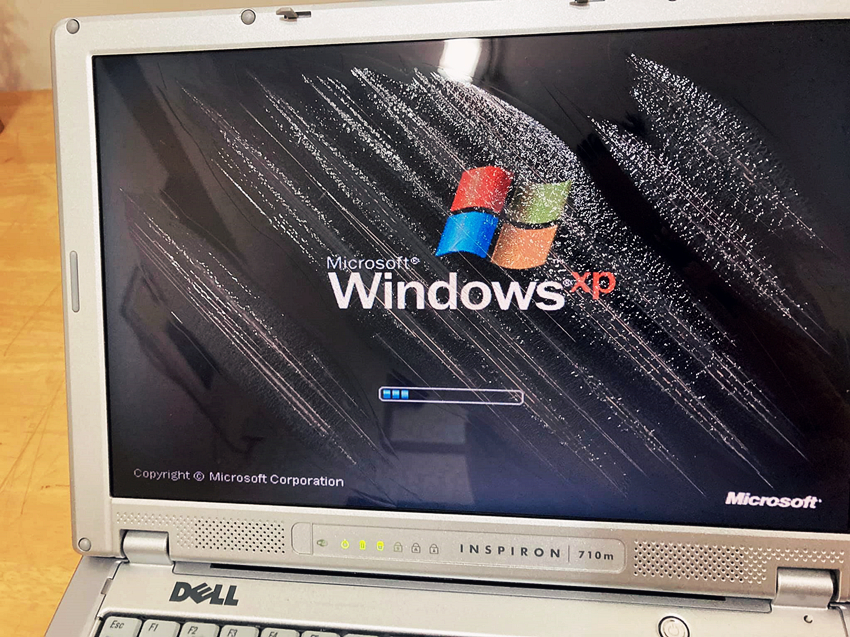
看來用了15年的Notebook終於也不行了 幸虧還可以看得見 不幸中的大幸
#支持環保
#繼續用下去
AMD EPYC 7763 87,767
Intel Xeon Gold 6248R @ 3.00GHz 38,521
Intel Xeon E5-2690 v4 @ 2.60GHz 20,776
Intel Xeon X5650 @ 2.67GHz 5,779
Intel Xeon E5620 @ 2.40GHz 3,709
Intel Core i5-2400 @ 3.10GHz 3,821
AMD Opteron 285 956
Intel Pentium III 1.4Ghz 193
The quick fix is “Set-NetConnectionProfile –Name “Unidentified network” -NetworkCategory Private” but it won’t sustain as it will change back to Public profile after reboot.
So the easiest way to trick Windows is to assign Unidentified network property to Private!
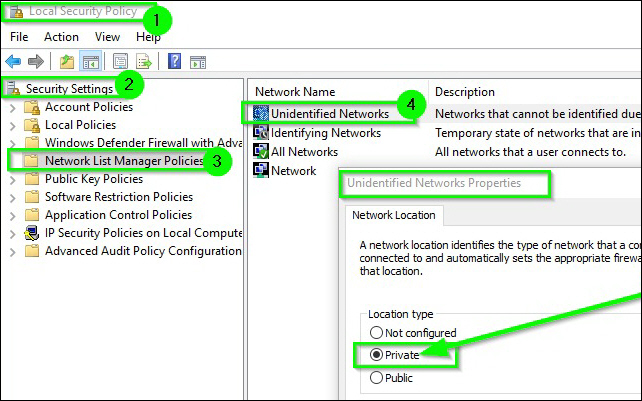
The solution is quite easy with PowerShell
New-SelfSignedCertificate -CertStoreLocation Cert:\LocalMachine\My -DnsName “stargate.domainname.com” -FriendlyName “Stargate” -NotAfter (Get-Date).AddYears(20)
Using certmgr, make sure copy it from Personal Certificates to the Trusted Root Certification Authorities, or it won’t appear in IIS Server Certification.
Simply add the following lines to VM options
tools.syncTime 0
time.synchronize.continue 0
time.synchronize.restore 0
time.synchronize.resume.disk 0
time.synchronize.shrink 0
time.synchronize.tools.startup 0
time.synchronize.tools.enable 0
time.synchronize.resume.host 0
Seems the old Windows Server 2003 is having trouble with recent SEP v12.1 virus definition updates.
Solution is simple by restarting the SEP service.
smc -stop
smc -start
Then manually update the definition will solve all the question marks.
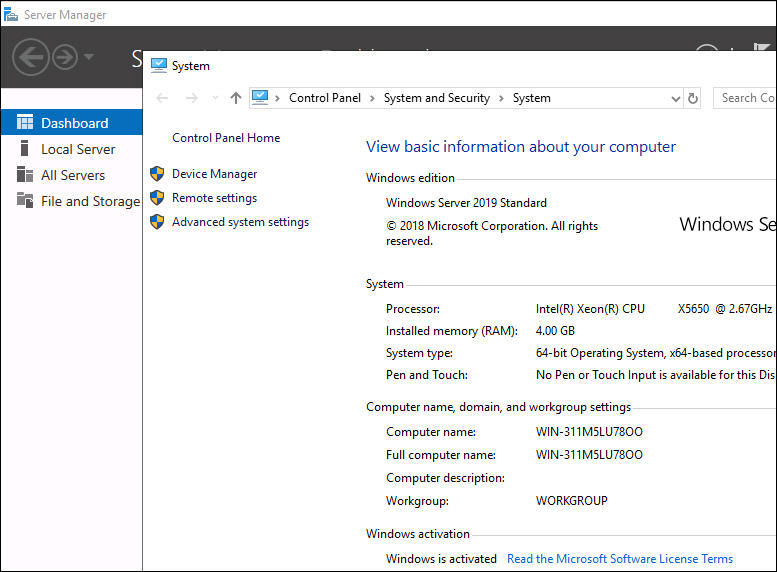
As expected, the installation process is almost identical to Windows Server 2012 and 2016. The key is to use BIOS version SLIC 2.5.
Except I’ve encountered a tricky problem that the valid license key won’t activate, it returns with “windows server 2019 error -xc004f069″.
It turns out the the source ISO is an evaluation copy, so all you have to do is to convert the Eval copy to Retail version by:
DISM /Online /Set-Edition:ServerStandard /ProductKey:xxxxx-xxxxx-xxxxx-xxxxx-xxxxx /AcceptEula
To determine upgrade path and other available edition:
DISM /online /Get-TargetEditions
For the evaluation/retail version of Windows Server 2016 Standard, you can also convert to the retail version of Windows Server 2016 Data Center using the same command and the appropriate product key.
DISM /Online /Set-Edition:ServerDatacenter /ProductKey:xxxxx-xxxxx-xxxxx-xxxxx-xxxxx /AcceptEula
Update: Apr 11, 2021
It turns out VM will lost its customized CPUID parameter after Veeam backup restoration, BIOS SLIC 2.5 parameter holds though.
So you have to add it back again, or the VM will keep crashing every now and then.
However, if the VM is deployed via template, then there is no problem at all.
System drive is filling up with all the unncessary hotfix files and cannot be removed? Finally the most important piece of system cleanup tools shows up in Windows Server 2008 R2
All you need to do is to copy the following two files into corresponding locations!
Cleanmgr.exe should go in %systemroot%\System32.
Cleanmgr.exe.mui should go in %systemroot%\System32\en-US.
You can now launch the Disk cleanup tool by running Cleanmgr.exe from the command prompt.


